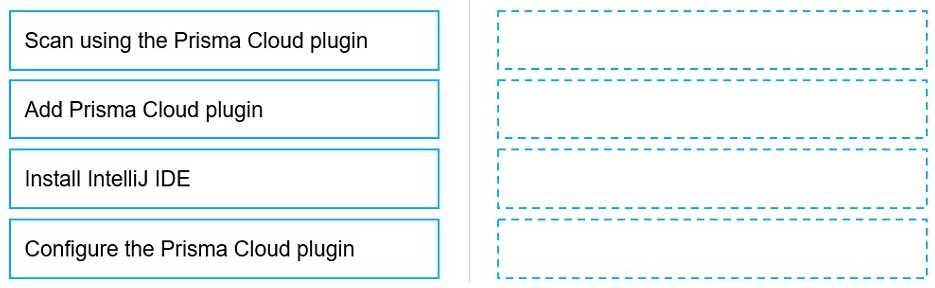
Install IntelliJ IDE
Add Prisma Cloud plugin
Configure the Prisma Cloud plugin
Scan using the Prisma Cloud plugin
To configure and use the Prisma Cloud plugin for scanning within the IntelliJ Integrated Development
Environment (IDE), you must follow a series of steps in a specific order to ensure proper setup and
functionality.
Firstly, you need to have the IntelliJ IDE installed on your system. Without the IDE, you cannot add or
use the Prisma Cloud plugin, as it is designed to work within this development environment.
Secondly, after installing the IntelliJ IDE, you add the Prisma Cloud plugin. This involves navigating to
the plugin marketplace within IntelliJ and selecting the Prisma Cloud plugin for installation.
Once the plugin is added to your IntelliJ IDE, the next step is to configure the Prisma Cloud plugin.
This configuration may include setting up your Prisma Cloud credentials, specifying your scan
options, and other settings that tailor the plugin's functionality to your needs.
Finally, after the plugin is installed and configured, you can proceed to scan your project using the
Prisma Cloud plugin. This will check your code against security policies and compliance standards,
providing feedback and recommendations for any identified issues.
Following these steps ensures that the Prisma Cloud plugin is properly integrated into your IntelliJ
development workflow, allowing for continuous security and compliance checks as part of the
development process.